Baltimore families looking for trusted overnight newborn care and night nurse services turn to Let Mommy Sleep Baltimore for expert, evidence-based support during the critical newborn period. Serving families across Baltimore, Towson, Columbia, Ellicott City, and surrounding Maryland communities, our team of licensed nurses and certified postpartum doulas provides compassionate, clinical-level care that helps parents rest with confidence.
Led by maternal health expert Klara Annibal, MPH, MW, Let Mommy Sleep Baltimore combines clinical experience, public health leadership, and deep community roots to deliver exceptional newborn and postpartum care tailored to each family’s needs.
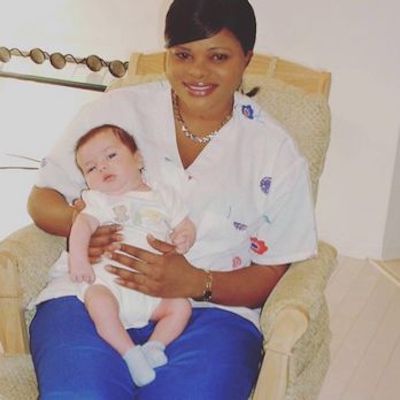
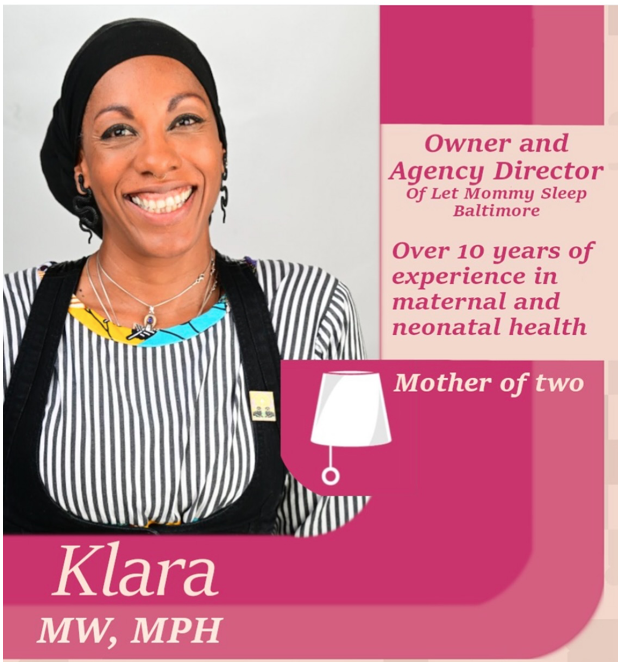
Meet Klara Annibal, MPH, MW
Klara Annibal brings more than a decade of experience in labor and delivery, midwifery and maternal health policy to her work with Baltimore families. Her career spans clinical practice, public health leadership and advocacy for equitable, evidence-based perinatal care.
Her professional experience includes:
- Supervising the Doctors Without Borders Midwifery Program
- Serving as Public Health Chair of the NAACP Baltimore City Branch
- Leading statewide maternal health initiatives
- Speaking and teaching on maternal and newborn health topics
- Publishing and collaborating with global maternal health organizations, including the NIH
Klara’s unique blend of clinical midwifery expertise, public health leadership, and community engagement positions her as a respected voice in maternal and postpartum care across the Baltimore region. As a mother of two, she also understands firsthand the emotional, physical, and logistical challenges families face after welcoming
Baltimore Night Nurse & Overnight Newborn Care Services
Let Mommy Sleep Baltimore specializes in overnight newborn care and night nurse services designed to support families during the earliest weeks at home with a baby. Our caregivers provide individualized, in-home support that promotes newborn safety, parental rest, and confidence in infant care.
Our Baltimore newborn care services include:
- Overnight newborn care and night nurse support
- Feeding assistance, including breastfeeding and pumping support
- Safe sleep guidance aligned with Maryland and American Academy of Pediatrics (AAP) recommendations
- Newborn soothing, monitoring, and documentation
- Emotional support for parents
- Newborn education and evidence-based care practices
Families rely on Let Mommy Sleep Baltimore for clinical-level expertise combined with compassionate, personalized care whether they are first-time parents or welcoming a new child into a growing family. Learn more about
Leadership that Reflects Our Mission
“We are honored that Klara is leading the Baltimore team. When we consider a new partner, we think about what they can bring to the group and to families; Klara’s leadership ensures that families in Baltimore will receive exceptional, compassionate care backed by years of clinical and public health experience. We look forward to learning from Klara as well.”
Denise Iacona Stern, Founder, Let Mommy Sleep
Baltimore Night Nurse & Overnight Newborn Care Services
Let Mommy Sleep Baltimore specializes in overnight newborn care and night nurse services for families throughout Baltimore and surrounding Maryland communities. Our licensed nurses and certified postpartum doulas provide overnight infant care, feeding support, safe sleep guidance, and newborn education for first-time and experienced parents alike. Families searching for a night nurse in Baltimore rely on Let Mommy Sleep for trusted, evidence-based newborn care.
Baltimore Night Nanny Info for Families and Caregivers
- Families: Let Mommy Sleep Baltimore is now welcoming new families as well as caregiver applicants. Parents, learn more about us here.
- Night Doula or Newborn Caregiver applicants: We understand that excellent caregivers come from many differenet backgrounds and we want to hear all about yours. Learn more about our requirements in Night Nanny or Postpartum Doula: How-To Get Your Dream Job! or complete an application right now.
Families searching for a night nanny, newborn care provider, or postpartum doula in Baltimore often want experienced, medically trained caregivers they can trust. Let Mommy Sleep Baltimore connects families with licensed nurses and certified newborn care specialists who provide overnight newborn care tailored to each family’s needs. Whether you need a night nurse in Baltimore, Towson, Columbia, or Annapolis, our team delivers safe, reliable, and compassionate newborn care.
Areas We Serve in Baltimore and Central Maryland
Let Mommy Sleep Baltimore provides overnight newborn care and postpartum support throughout Baltimore City and surrounding communities, including:
- Baltimore City neighborhoods such as Canton, Federal Hill, Fells Point, Mount Vernon, Hampden, Roland Park, and Inner Harbor
- Towson, Pikesville, Owings Mills, Catonsville, and Parkville
- Columbia, Ellicott City and Charles and Cecil Counties
- Annapolis and Anne Arundel County, including Severna Park, Arnold, Crofton and Pasadena
Families across these areas trust our licensed nurses and postpartum doulas for reliable, evidence-based overnight newborn care and expert support during the early months at home.
Why Families Choose Let Mommy Sleep Baltimore
Families searching for a night nanny, newborn care provider, or postpartum doula in Baltimore often want experienced, medically trained caregivers they can trust. Let Mommy Sleep Baltimore connects families with licensed nurses and certified newborn care specialists who provide overnight newborn care tailored to each family’s needs.
Whether you need a night nurse in Baltimore, Towson, Columbia, or Annapolis, our team delivers safe, reliable, and compassionate newborn care grounded in clinical expertise and best practices in maternal and infant health.
Frequently Asked Questions About Baltimore Night Nanny Service
If you’re considering overnight newborn care or are just learning about what a night nanny does, the questions and answers below can help.
What does a night nanny or overnight newborn care provider in Baltimore do?
An overnight nanny in Baltimore handles feeding, diaper changes, soothing, safe-sleep support and monitoring and documenting newborn behavior throughout the night. They prepare bottles, assist with breastfeeding or pumping, and document baby’s overnight patterns so parents wake up rested and informed. Learn more about us in What’s a Night Nanny? Roles, Benefits, Costs and How They Help Families.
What are Maryland infant safe-sleep guidelines?
Maryland like all US states, follows American Academy of Pediatrics guidelines: babies sleep on their backs, on a flat, firm sleep surface, with no blankets, pillows or toys. Let Mommy Sleep Baltimore is a Cribs for Kids Safe Sleep partner and adheres to all evidence-based infant safe sleep standards.
How much does a night nanny cost in Baltimore?
Night nanny rates in the Baltimore region typically range from $32–$48 per hour, depending on caregiver credentials, twins/multiples and medical considerations. Most families book 8–10 hour overnight shifts and flexible payment packages are available.
Are postpartum doulas or newborn care providers covered by insurance in Maryland?
Some Maryland health plans offer partial reimbursement for postpartum doula services, especially when connected to breastfeeding support or maternal mental health programs. Check with your plan or consider pay-over-time options.
How do I hire a newborn care specialist in Baltimore?
Look for professionals with verified credentials such as CPR/First Aid certification, infant safe sleep training and clinical or postpartum doula experience. Let Mommy Sleep Baltimore hires licensed nurses and NAPS certified night doulas who follow strict evidence-based practice including being vaccinate, and undergo comprehensive background screening.
Does Let Mommy Sleep Baltimore do daytime care?
Yes we do in-home baby care classes to help you get ready for baby, postpartum visits within one week after birth and virtual doula visits for all of your questions along the way.
What areas in and around Baltimore do you serve?
Let Mommy Sleep proudly supports families throughout the Baltimore , Anne Arundel and Annapolis regions, serving neighborhoods including Inner Harbor, Fells Point, Canton, Federal Hill, Mount Vernon, Hampden, Towson, Catonsville, Pikesville, Owings Mills, Randallstown, Columbia, Ellicott City, Halethorpe, Parkville, Perry Hall, Bel Air, White Marsh, Dundalk, Essex, Middle River, and Glen Burnie.
If you need a Baltimore Night Nanny we are just a call, text or email away! Contact us.
Are you an expecting parent who wants to understand what happens when you arrive home with your newborn for the first time? Read Your First Week Home with Baby: Ultimate Q&A